Additional Resources
GPU Jobs
Mercury currently has, as of July 2024, 4 logical Nvidia H100 GPUs in 2 servers. Each logical GPU has 16896 CUDA cores and 80GB dedicated high-speed memory, which can dramatically accelerate massively parallel code blocks. These are available via the “gpu_h100” partition.
This gpu partition has a 2 day wallclock limit.
GPUs are currently accessible to any application, however only Matlab and R are documented here. Future application documentation will be added as time allows. If you have something you need to use with a GPU and it’s not documented here, please contact Research.Support@chicagobooth.edu.
Jupyter
Jupyter is an open-source web-based user interface for Python. For a general overview including installation instructions, see the online documentation.
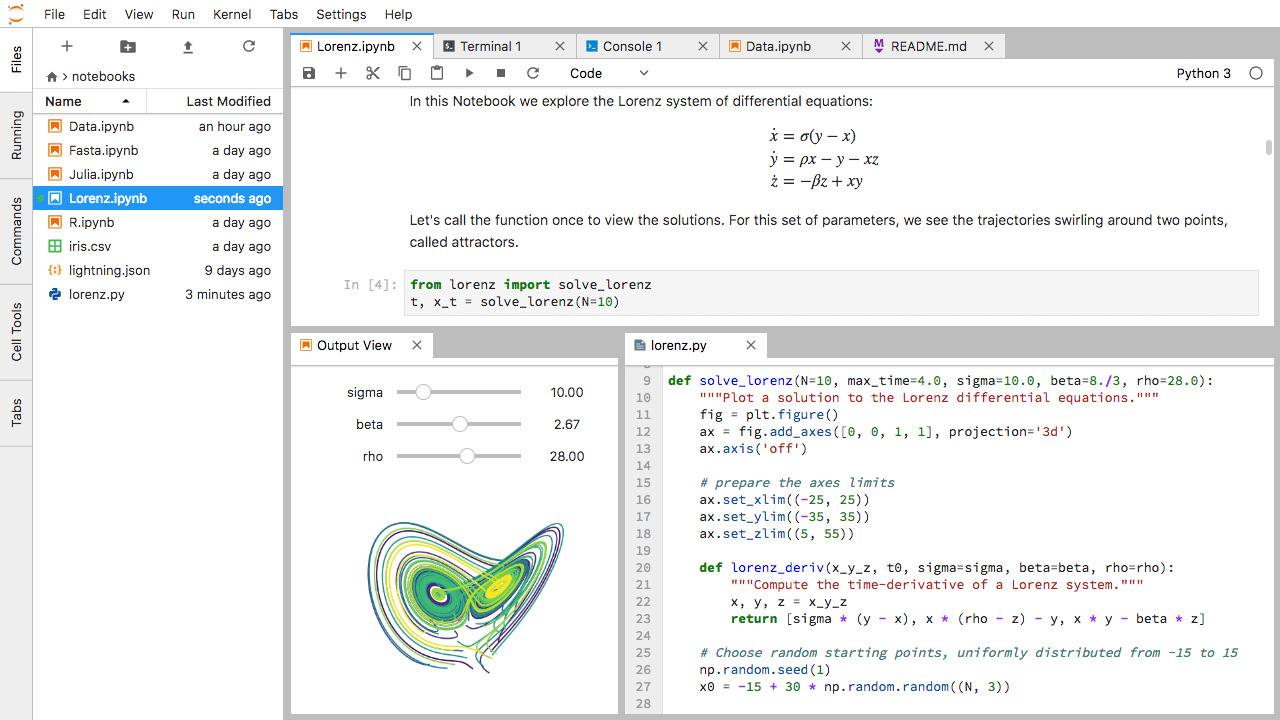
Jupyter provides a user-friendly interfaces for Python.
Interactive Mode
Log in to a compute node in interactive mode
srun --account=<accountname> --pty bash --loginLoad Python if necessary
module load python/booth/3.12Prepare environment
unset XDG_RUNTIME_DIRStart the desired Jupyter backend
jupyter notebook --no-browser --ip=$(hostname -i)orjupyter lab --no-browser --ip=$(hostname -i)
Note
It is important to start Jupyter using --no-browser to ensure that the graphical interface is not launched on the network. Doing so results in slow, laggy performance.
Copy the URL shown by the terminal and paste into a local web browser (e.g. Firefox, Chrome). The URL should look something like this:
http://10.xx.xxx.xxx:8888/?token=9c9b7fb3885a5b6896c959c8a945773b8860c6e2e0bad629
When finished, shutdown Jupyter:
On the web interface, navigate to File → Save Notebook
On the web interface, navigate to File → Close and Shutdown
In the Terminal, shut down the notebook server by pressing
Ctrl-CExit your interactive session by typing
exit
Batch Mode
Jupyter notebooks can also be run on Mercury in batch mode without a graphical interface. For example, for notebook test_run.ipynb.
$ jupyter nbconvert --to notebook --execute test_run.ipynb
#Once the batch job has completed, view the results by logging into https://jupyter.chicagobooth.edu with your Booth ID. The completed notebook with output cells will be named test_run.nbconvert.ipynb.
RStudio Servers
RStudio servers for available for light computational prototyping.
These servers are physically separate from Mercury, but do provide access to the files in your home directory.
The servers are available at rstudio-research.chicagobooth.edu.
Note
Do not fill up your home directory to its maximum capacity, otherwise you will be locked out of rstudio.
You can check its available space in the R console with the command system('df -h ~')
Because RStudio is hosted on lightweight virtual machines, they should not be used for heavy computations.
However, it is possible to offload heavier computations from rstudio-research.chicagobooth.edu to Mercury compute nodes via batchtools.
The code below shows an example of submitting jobs to Mercury from the RStudio server.
 1library(batchtools)
 2
 3myFct <- function(x) {
 4    print (paste0("x: ", x))
 5    print (paste0("SLURM_JOB_ID: ", Sys.getenv("SLURM_JOB_ID")))
 6    print (paste0("SLURM_JOB_USER: ", Sys.getenv("SLURM_JOB_USER")))
 7    print (paste0("PID: ", Sys.getpid()))
 8}
 9
10
11# create a registry (folder) at the location given by file.dir
12reg <- makeRegistry(file.dir="myregdir")
13
14# map my function over arguments
15Njobs <- 1:4
16Njobs <- list('a', 'b', 'c', 'd')
17ids <- batchMap(fun=myFct, x=Njobs, reg=reg)
18
19# define sbatch submit preferences for Mercury and submit jobs
20submit_prefs = list(ncpus=1, time="0-00:15:00", mem="4G", account='basic', partition='standard')
21done <- submitJobs(ids, reg=reg, resources=submit_prefs)
22
23# Wait until jobs are completed
24waitForJobs()
Note
The resources argument to submitJobs has a different naming convention from the typical slurm parameters due to R naming conventions. Note that ncpus corresponds to the slurm parameter cpus-per-task.
Remote Mathematica Kernel on Mercury
The university has a Mathematica site-license that is available for all faculty, students, and staff. It is possible to run an interactive Mathematica notebook on a local machine while offloading the heavy computations to Mercury. Doing so requires being on wired ethernet at Harper or having a public-facing, routable IP address.
Note
This method requires being on a wired ethernet connection at Harper Center
Open a new or existing Mathematica notebook on your local computer (e.g. laptop or desktop)
Navigate to Evaluation → Kernel Configuration Options → Add
Under Advanced Options – Arguments to MLOpen:
-LinkMode Listen -LinkProtocol TCPIP -LinkOptions MLDontInteract
Under Advanced Options – Launch command:
`java` -jar "`wolframssh`" <BoothID>@mercury.chicagobooth.edu
srun --mem=16G /apps/mathematica11/Executables/wolfram -wstp
-LinkMode Connect -LinkProtocol TCPIP -LinkName "`linkname`" -LinkHost `ipaddress`
Click OK
Start the remote kernel by navigating to Evaluation → Start Kernel → mercury (or whatever you named it)
When you are done, please Quit the kernel so that the compute node is cleaned up by navigating to Evaluation → Quit Kernel → mercury
Cron-like jobs
Cron jobs persist until they are canceled or encounter an error. Mercury has a dedicated partition, cron, for running Cron-like jobs. Please email Research.Support@chicagobooth.edu to request submitting Cron-like jobs. These jobs are subject to scheduling limits and will be monitored.
Here is an example of an sbatch script that runs a Cron job:
 1#!/bin/bash
 2
 3#SBATCH --time=00:05:00
 4#SBATCH --output=cron.log
 5#SBATCH --open-mode=append
 6#SBATCH --account=systems
 7#SBATCH --partition=cron
 8
 9# Specify a valid Cron string for the schedule. This specifies that
10# the Cron job run once per day at 5:15a.
11SCHEDULE='15 5 * * *'
12
13# Here is an example of a simple command that prints the host name and
14# the date and time.
15echo "Hello on $(hostname) at $(date)."
16
17# This schedules the next run.
18sbatch --quiet --begin=$(next-cron-time "$SCHEDULE") cron.sbatch
After executing a simple command (print the host name, date and time), the script schedules the next run with another call to sbatch with the –begin option.
Booth AWS Environment
Users wanting to take advantage of AWS command line tools will need appropriate security credentials. Booth’s AWS environment allows users to obtain temporary security credentials that are valid for one hour. To facilitate generating these credentials, we recommend using the aws-adfs open source tool. aws-adfs is available on our Mercury cluster and is also installable via pip if needed. The basic syntax is below:
# Log into the ADFS host
# username: gsb.uchicago.edu\<BoothID>
# password: <BoothPassword>
aws-adfs login --adfs-host=bushadfs01.chicagobooth.edu --role-arn arn:aws:iam::<account-number>:role/<role-name>
A full session on Mercury would look like this:
# connect to Mercury computing cluster
[localhost] $ ssh mercury.chicagobooth.edu

# request an interactive session on a compute node
[mfe01] $ srun --account=<accountname> --pty bash --login

# load the python and awscli modules
[mcn01] $ module load python/booth/3.12
[mcn01] $ module load awscli/2.10/2.10.3

# Log into the ADFS host
# username: gsb.uchicago.edu\<BoothID>
# password: <BoothPassword>
[mcn01] $ aws-adfs login --adfs-host=bushadfs01.chicagobooth.edu --role-arn arn:aws:iam::<account-number>:role/<role-name>

# Temporary security credentials should now allow you access to AWS resources
[mcn01] $ aws s3 ls s3://<bucket-name>
After obtaining the temporary security credentials, it is possible to access files from AWS S3 using Python’s boto3 library. The following code demonstrates a few useful commands.
import boto3

s3client = boto3.client('s3')
s3resource = boto3.resource('s3')

# Retrieve the list of existing buckets in aws account
response = s3client.list_buckets()

# Display the bucket names
print('Existing buckets:')
for bucket in response['Buckets']:
    print(f'  {bucket["Name"]}')

# Specify bucket
bucketname = "test-protected-raw-data"

# Display bucket contents
for bucket_object in s3resource.Bucket(bucketname).objects.all():
    print(bucket_object)

# Specify file
file_to_read = "elev/junk22.csv"

#Create a file object using the bucket and object key.
fileobj = s3client.get_object(
    Bucket=bucketname,
    Key=file_to_read
    )

# Print file line by line
for i in fileobj['Body'].iter_lines():
    print(i.decode('utf-8'))


# Alternatively, use pandas for tabular data

import pandas as pd
import io

fileobj = s3client.get_object(
    Bucket=bucketname,
    Key=file_to_read
    )

df = pd.read_csv(io.BytesIO(fileobj['Body'].read()))